BAL-AMi Super 40 Restoration
The following article has been written by Simon Edy, describing his magnificent restoration of a Super 40 that had seen a hard life!
Several years elapsed between wanting a jukebox and actually owning one. I had no real idea what to buy but my budget led me to a BAL-AMi Junior (J40). In the early nineties they were plentiful and I bought one of two available at the Copthorne jukebox show. A nice compact 1956 visual mechanism machine offering 40 selections. I loved it and still do, but I didn't know then of the glitzier Super 40 manufactured a year later in 1957. I never held out much hope of owning one, they are pretty rare, although not as scarce as the 'Deluxe' variant, produced toward the end of the fifties.
Completely out of the blue someone was interested in a Junior I had just restored for myself. Although I hadn't planned to sell it, I thought having restored one I could always restore another. So off it went to live with Andy by the seaside, but not before we had spent a fair amount of time enthusing about British Jukeboxes, BAL-AMi, and the elusive Super 40.
A few days went by when the phone rang - it was Andy who had been telling a friend about his new Junior. Well the friend in question collects things and said he'd had a jukebox in his shed for a few years. He had bought it from his brother in law for the princely sum of £10, after the local auction house were unable to offer it for sale as it could not be tested for electrical safety.
Well, without going further I just knew it would be a Super 40, and sure enough it was. "Does he want to sell it" I asked and before you could say 'Awopbopaloobop' a price was agreed and I was on my way to buy it!
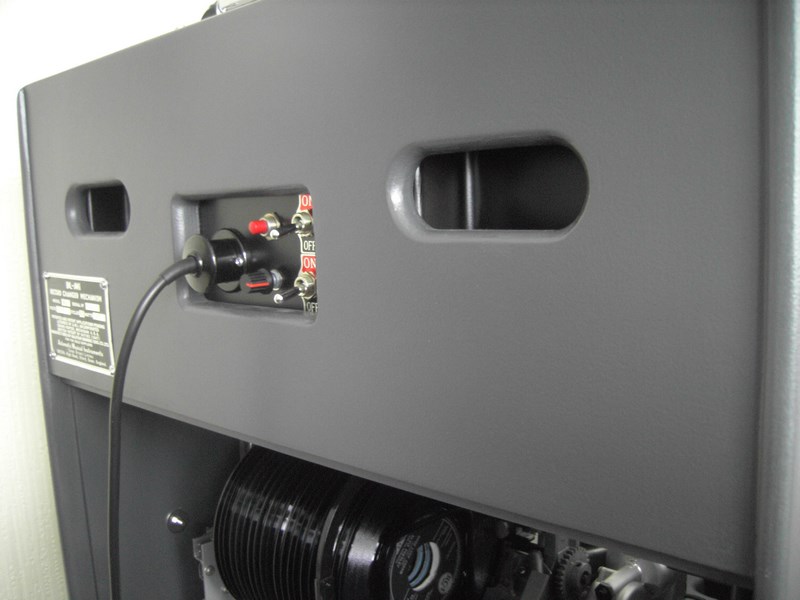
This Super 40 appeared to be the second variant with the coin entry on the right hand side of the chromed button bank casting. The earlier version was painted instead of chrome, with a coin slot in the centre. The journey to the coin mechanism was somewhat convoluted and prone to jamming, presumably why this had been updated. The twenty records still in the jukebox were all from 1968 suggesting the last year of active service.
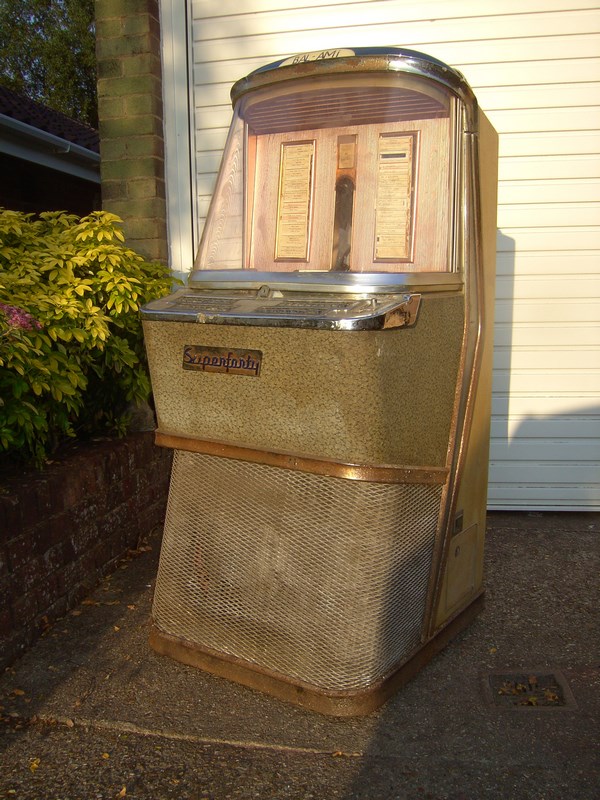
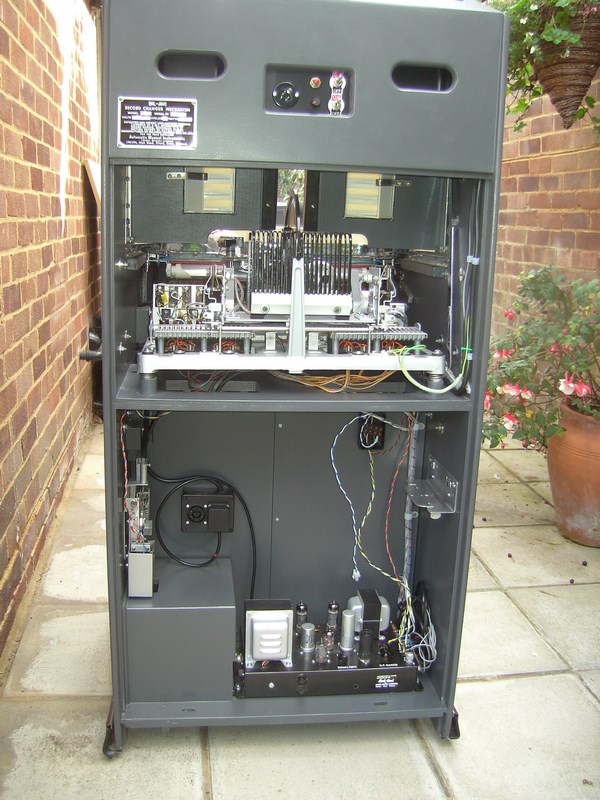
Sometimes your heart rules your head and a vision of something needing a bit of TLC may be miles away from reality. We bumped it out of the shed and, apart from missing a back door, it looked original and complete. It was only once I got it home that the enormity of the task began to sink in.
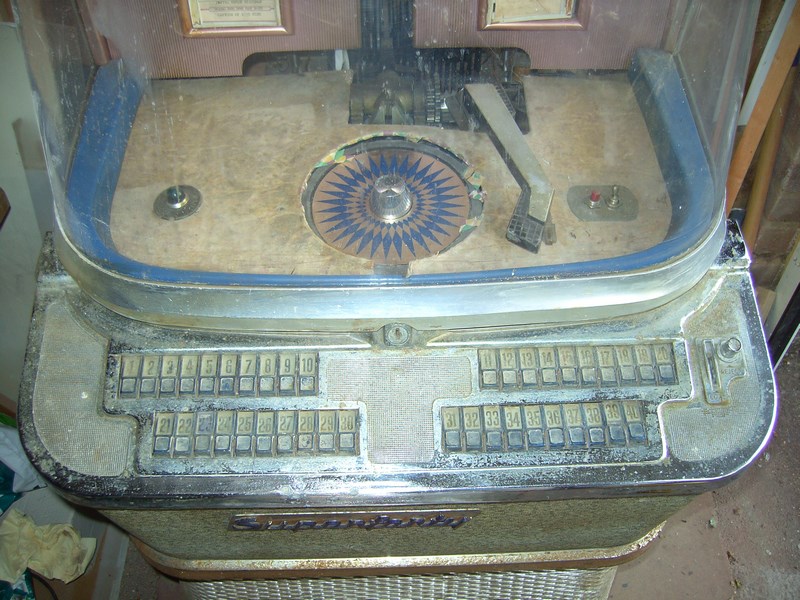
The dome castings were a total write-off, holes and craters, nothing salvageable. The button bank casting was not a great deal better and most of the 40 blue selection buttons were broken or fused together. The perspex screen had a few marks and scratches but fared much better than most. The light diffuser was in one piece but badly discoloured. Also present were the plastic valances surrounding the inside of the screen, however these were badly broken where it had been grabbed on opening. The blue and white 'topper' was pretty good apart from the internal paint. The mech board seemed little more than a piece of hardboard covered with some sort of vinyl covering (the sort we had on the kitchen table in the 50's & 60's).
The steel trim was very rusty but intact with minimal dents. The original amplifier looked a mess, rusty with missing parts and generally wrecked. Even a qualified lunatic would have second thoughts about powering it up!
The original speaker looked beyond repair but had the added bonus of a mouse skeleton hanging out of the paper cone.
Still, it wasn't all bad news the ID Tag and the Superforty badge were both present!
Where to start?
The first step was to see if any castings were obtainable, a quick post on the British Jukebox Owners forum proved very successful. I was able to obtain both dome castings and a chromed button bank casting which, apart from a small crack in the front edge, was very nice. Feeling a lot happier I set about removing and taking everything apart leaving a wooden dalek-like cabinet.
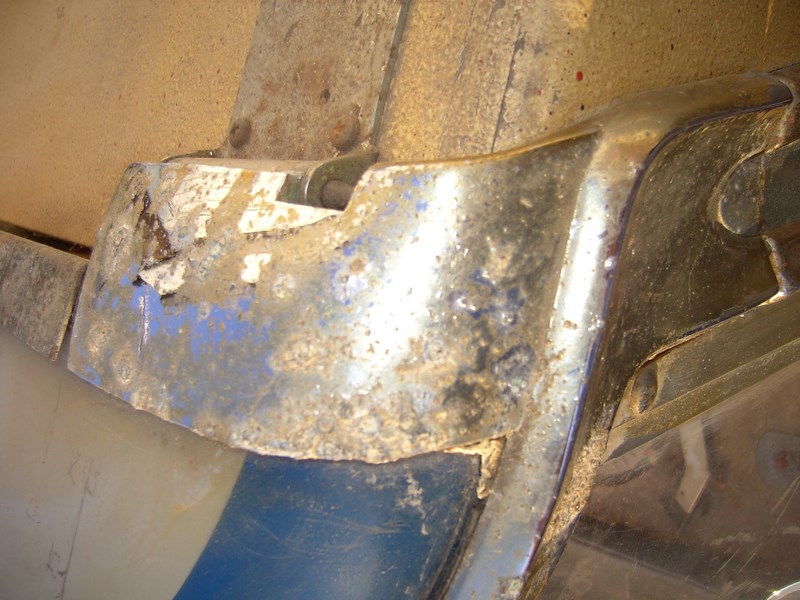
My next worry was all the incredibly rusty steel trim. I was anxious to get this to a platers to see how easy it would be to re-chrome. On examination, there was a fair bit of head shaking, sighing and tutting before I left. At this stage I had no idea how long it was going to be or the cost but I didn't hold out a lot of hope.
The original Beam Echo amplifier was a complete wreck but Andy (who had put me on to this machine) said no problem he would restore it to its former glory. So that went off to him to work his magic.
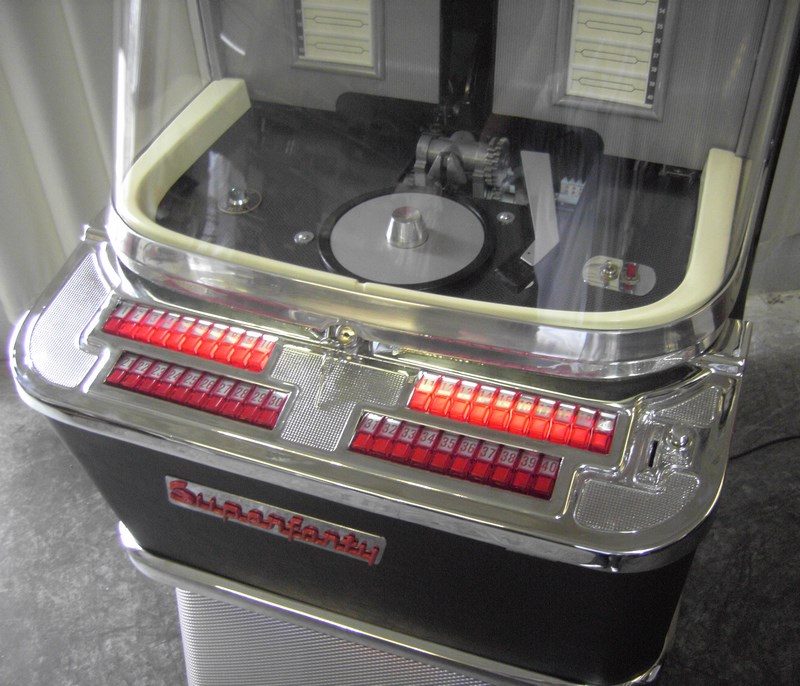
I had decided to change the original colour scheme, in particular the blue plastic buttons and perspex blue and white topper. Again due to the scarcity factor, no-one really reproduces things for these machines, the mechanics are not a problem but most of the trim is. I opted for a set of forty red buttons, these are the same as on an AMi H but not normally available in that quantity. I replicated the index numbers in Excel and had decals made which I applied to clear acrylic before trimming to fit. The Superforty raised plastic badge was carefully removed from the chrome plate and resprayed red to match the buttons.
The blue and white paint on the inside of the topper was stripped by soaking in brake fluid which was very effective without damaging the perspex. A clear plastic primer was used before re-spraying the inside cream (Antique White in the more upmarket stores).

Various strips were cut from an old plastic box and with the help of some epoxy resin, used to repair and reinforce the inner plastic valances. Two part body filler was then used to fabricate the missing shape and they were then re-sprayed to match the dome topper.
A new deck board was made in 6mm plywood, painted and then covered in a graphite looking vinyl.
The inside back board housing the title strips and side trims were a sort of anodised salmon pink and apart from being in poor condition, didn't really suit my new colour scheme. These were subsequently powder coated in a sparkling light gun metal finish with contrasting black centre arch.
The light diffuser looked rather shabby but was improved somewhat by a fresh coat of paint.
The grill on the machine looked original but the holes seemed particularly large. I found a supplier with a great selection of perforated metals and ordered a large sheet with smaller apertures. When it arrived the diamond shaped holes were far too small. Had I read the specification I would have realised the measurements quoted are not of the actual hole but taken from centre to centre of the perforated metal. The only good thing was the actual sheet I needed was a third of the price. I cut this to the approximate size and formed it over the cabinet trimming to suit. Following a few coats of lacquer it was ready for the final installation.
Compared with the earlier Junior version the cabinet was far easier to prepare and a lot less to paint. This was repainted in a vintage looking grey which went well with the red, cream and light grey trim. I made a new back door with access holes to avoid pulling it open with the key, and a grill for the amplifier area.
A black leatherette type fabric, affixed to the cabinet using PVA glue, was used for the new waistband.
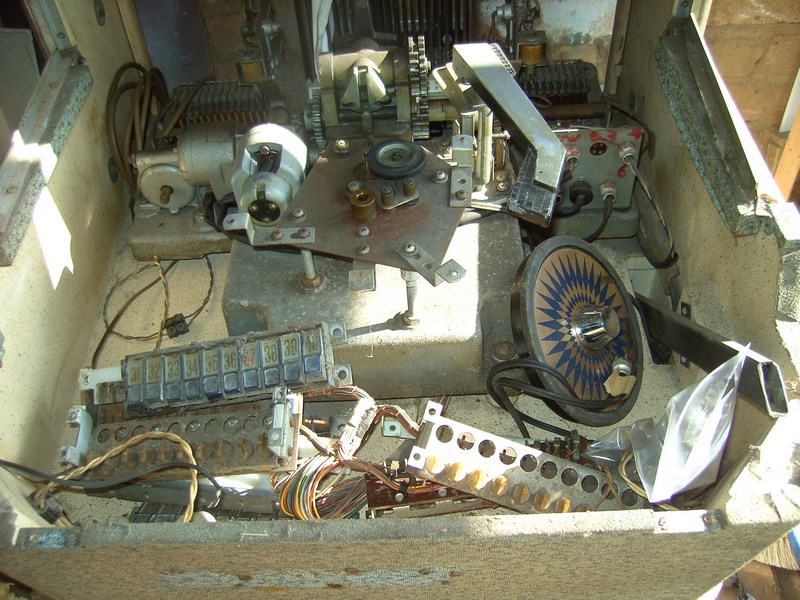
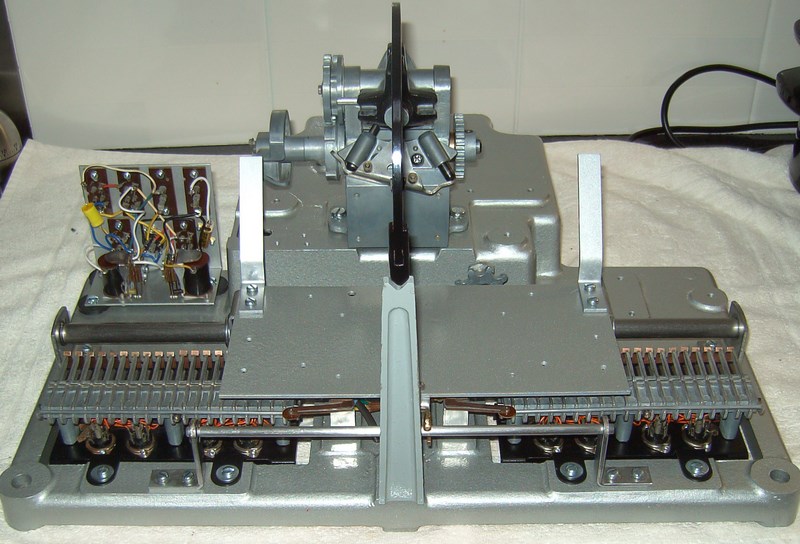
All of the mechanism was completely taken apart cleaned, de-rusted, rewired and repainted. The gripper and transfer motors were stripped, repainted and rebuilt. The credit unit and coin mechanism were also completely rebuilt.
For the lighting I decided to use T8 LED tubes as they give out minimal heat, fit into normal tube holders and no hum. The only downside is they are not widely available in 18" lengths but you can have any size made so that's what happened.
The amplifier came back looking like new having been completely restored and repainted both inside and out. For some reason the original speaker could not be re-coned and so a new "vintage " Jensen was used. I was however able to obtain a NOS stylus to use with the original Tannoy cartridge.
I finally got the call to collect all the chrome and aluminium trim and was pleasantly surprised at how well everything came out.
So it was time to reassemble everything, one of the nicer parts of any restoration, and finally it was finished and looked so far from the original "project" I was really pleased with the end result.

I know I should have kept it but in a moment of weakness sold it to an avid collector.
There always seems to be a point in any restoration where you want to abandon it, but persevere and you will get there, it is always worth it.
These are really unique quirky machines and to bring them back to life is very rewarding. The good news is I recently found another one which I am about to start and hoping to twin it with this my very first Super 40 restoration.
